DIY – Fabric Covered Storage Boxes
Hello there! Have you started organizing your closet for the new season?
I’ve been super obsessed with organizing my closets after my post, 10 Τips for Organizing your Βedroom Closets.
I’ve been cleaning out, donating, hanging, boxing up and building displays.
I wanted to have some cute boxes in my closet to store some of my hats and other accessories.
After shopping around I decided that the best option for me was D.I.Y.
I visited iheartorganizing a beautiful blogspot to get some inspiration because I love Jen’s projects.
I found a beautiful idea on how to transform usual paper boxes into beautifully covered fabric boxes for the closets.
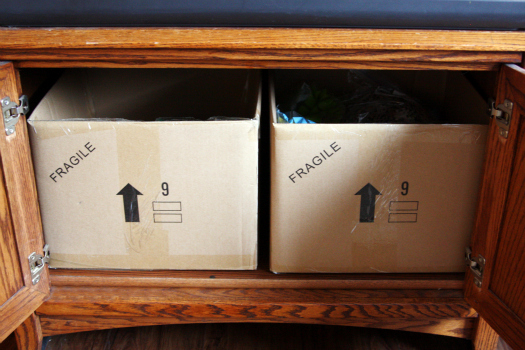
So I gathered up all my shoe boxes that I had been saving and before going to my studio to start covering them …I thought you may also be interested in the same idea.
Here are the supplies we need to spruce the boxes up a bit:
Supplies
1. Fabric
2. Craft Knife or Scissors
3. Spray Adhesive
4. Yard Stick
5. Cotton Cord
6. Grommets
7. Empty Boxes
How to…
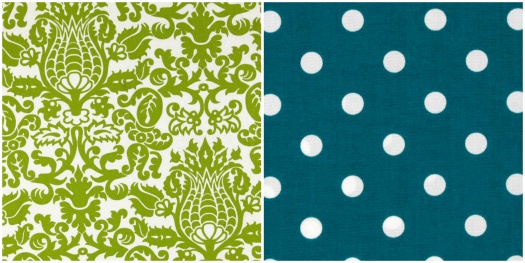
Try to use a color scheme for your fabrics that is going with the rest of your décor.
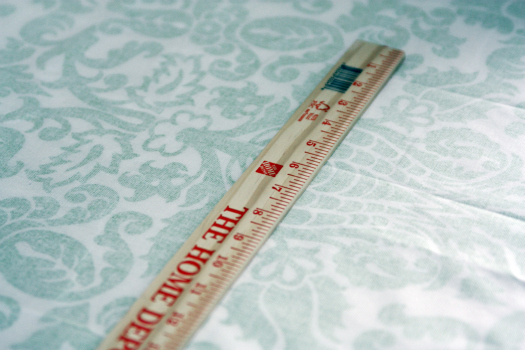
Use the yard stick to measure A LOT and draw straight lines on the back side of the fabric for all of your cuts:
First, cut a piece a bit larger than the bottom and use the spray adhesive to attach it to the bottom of the box.
Then cut two long strips of fabric to wrap along the inside.
Quick tip:
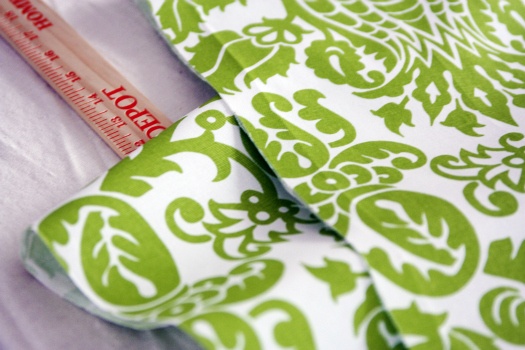
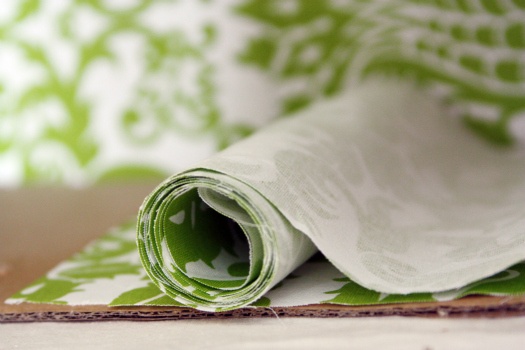
It helps to roll the fabric and then unroll as you spray and affix:
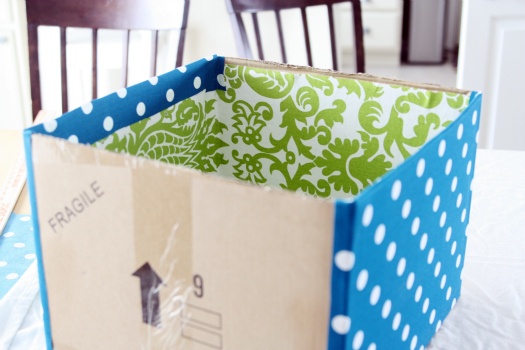
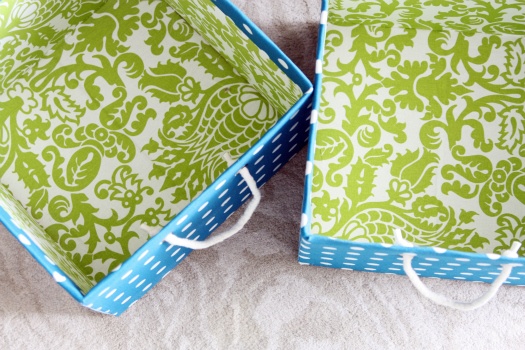
So now the inside of your box is completely covered:
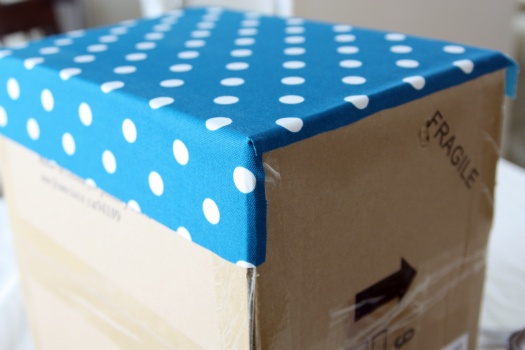
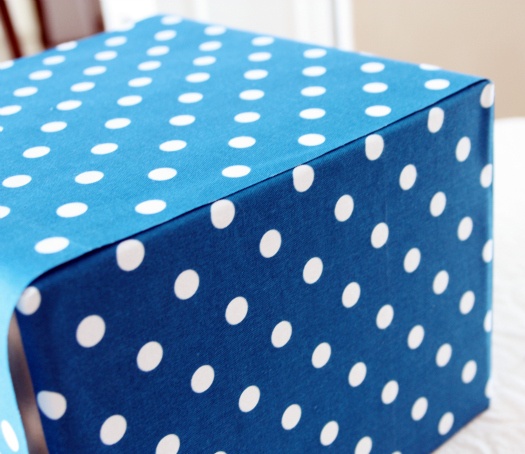
Then, cut pieces of fabric for two sides of the box.
Enough to wrap the top edge and the bottom edge:
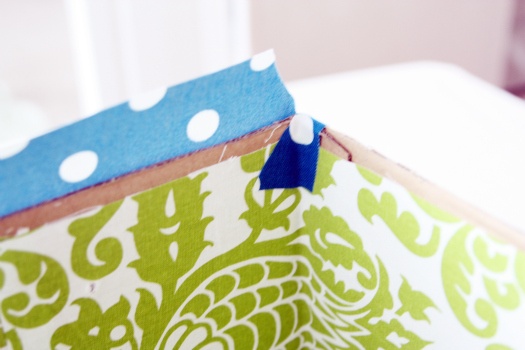
For the corners on the inside, just cut the fabric at a diagonal and wrap it down:
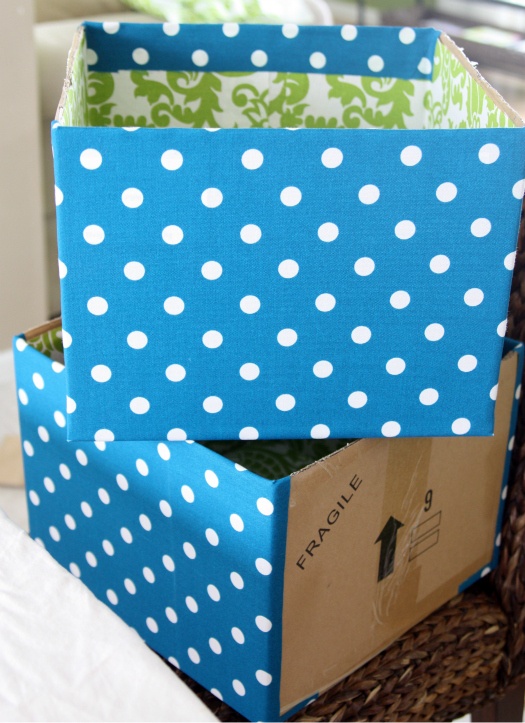
So now the boxes look like this:
Halfway there!
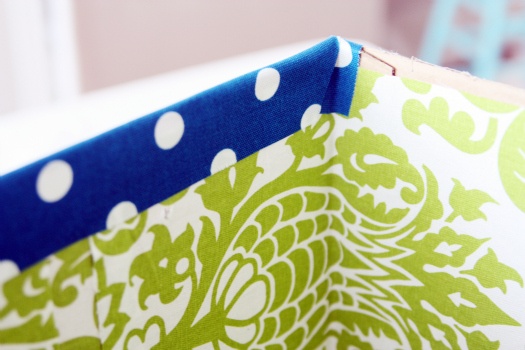
This time, you cut the fabric a little bit shorter so it would just slightly overlap the existing fabric that was wrapped around the corner.
The spray adhesive rocked for this project. Everything is nice and easy to affix and it stuck really well.
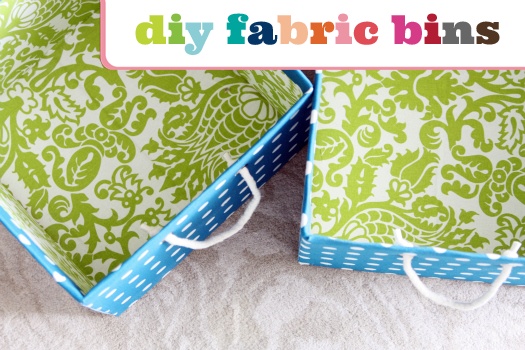
Two fabric covered boxes later…
If you want you can use some handles on the front as to dress up the bins even more, and to make it easy for you to pull them out when searching for your things.
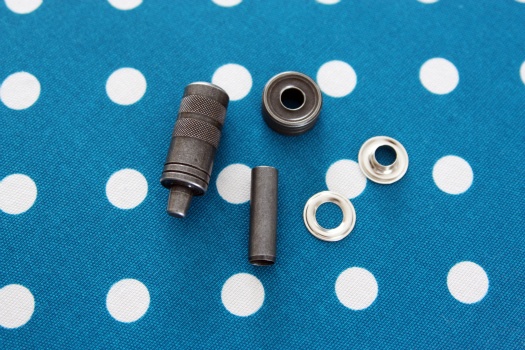
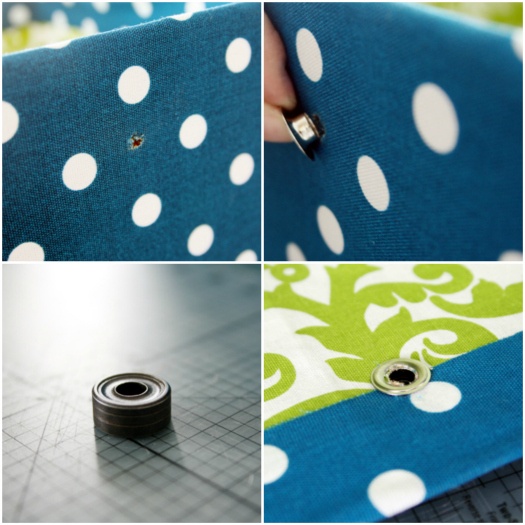
Start with grommets and a grommet setter:
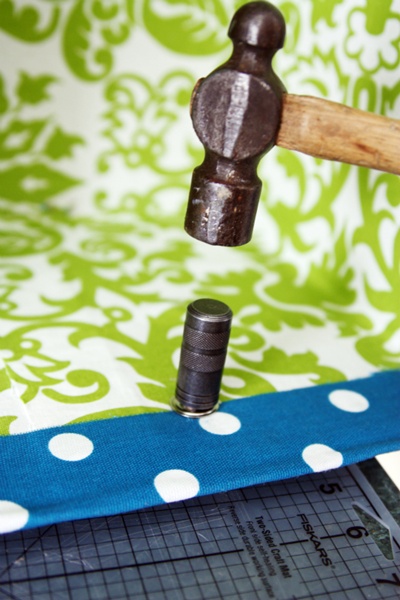
Next step was to measure, cut holes in the box with the craft knife, push the grommet head through, set the grommet head face down on the grommet setter; place the grommet cap on the other side…
And set it!
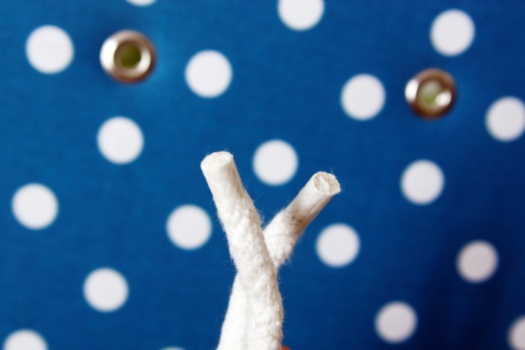
Leaving us with two holes to feed the rope handle through:
You can tape the ends of the cotton rope, to avoid fraying and to make it easy to feed through the grommets:
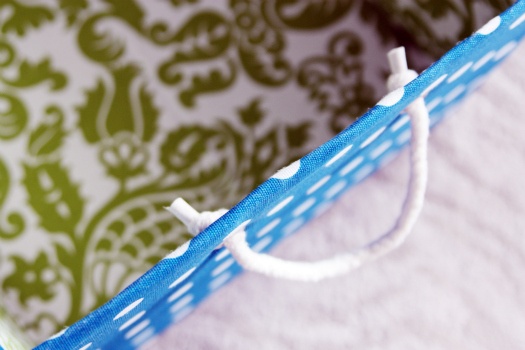
And just knot them on the backside so they won’t fall through:
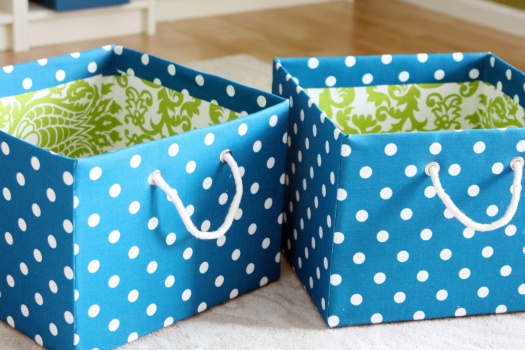
Indeed! Oh my greatness how cute are these bins?!?
Fill them up! And place them in their new home!
Now for the fabulous before and after:
Now it’s your turn!


 Ελληνικά










Ayto to yfaama ein aytokollhto h to kollate me kolla k apla ein yfasma sketo apo pou to agorasate?
Γεια σου Αθηνά! Είναι ένα απλό ύφασμα το οποίο έχει κολληθεί με κόλλα σε σπρευ
Φιλικά
Έλενα
Καλησπέρα ,
μήπως θα μπορούσες σε παρακαλώ να μου πεις απο που πήρες το ύφασμα
και πως το ζήτησες?
Σε ευχαριστώ εκ των προτέρων
Μάριος
Γεια σου Μάριε,
μπορείς να χρησιμοποιήσεις οποιοδήποτε ύφασμα που δεν είναι ελαστικό.
Φιλικά
Έλενα
Καλημέρα!Που βρίσκω τις ροδέλες και πως τις ζητάω;